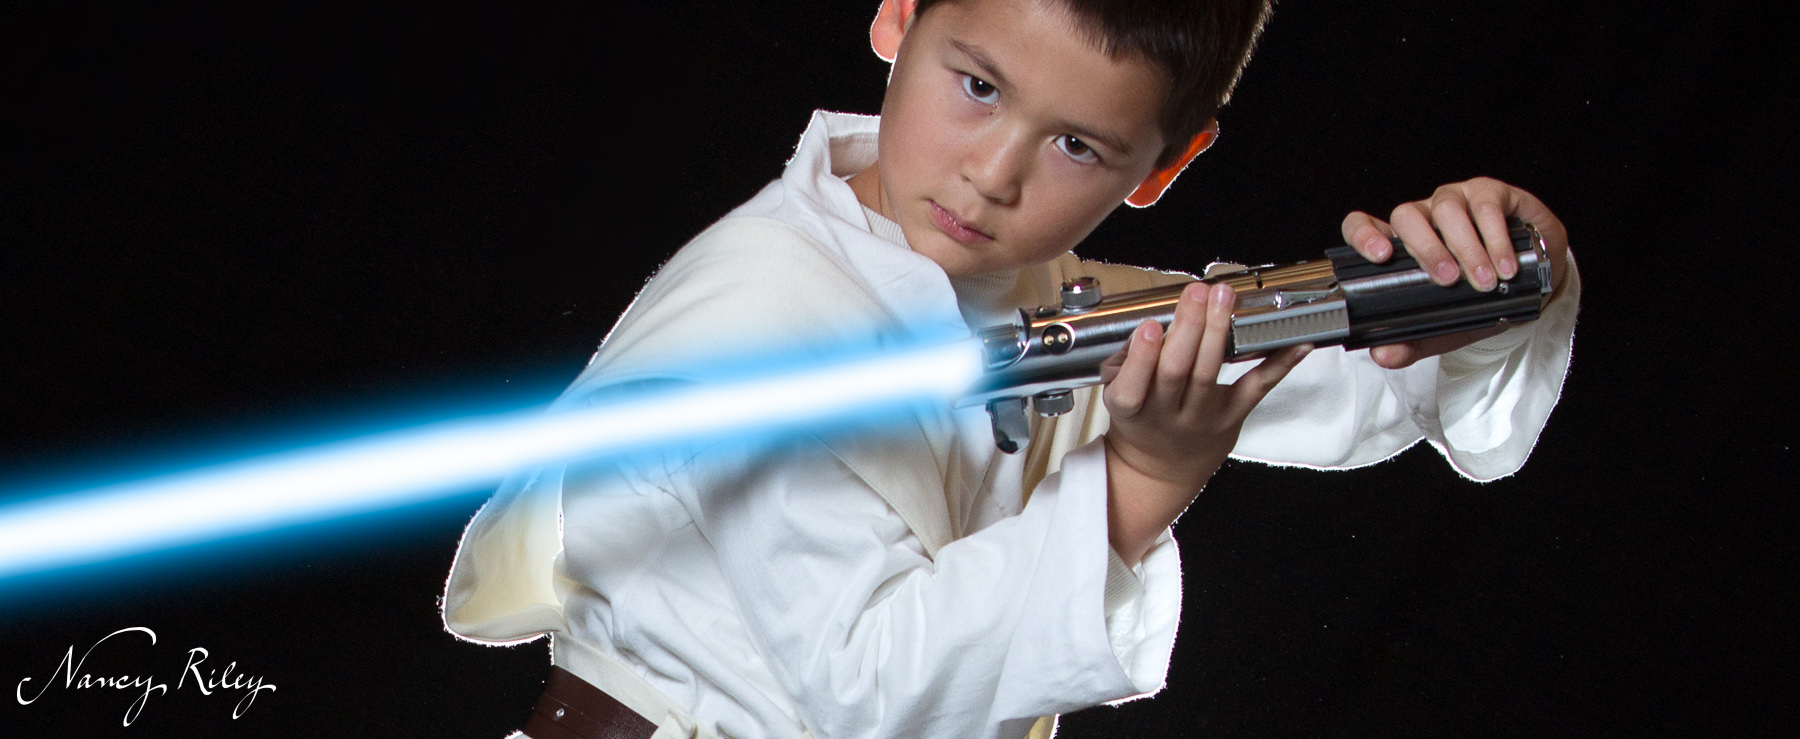
If you have ever taken a picture of a toy lightsaber, even the fancy replica kind with LED lights, you might have been disappointed that you couldn’t really see the glow in the pictures. The lightsaber isn’t really bright enough to compete with the lights that are necessary to bring out the detail of the handle and the warrior who wields it. Fortunately, it is actually pretty easy to create a glow effect in Photoshop. I’m using Photoshop CS6, but there are similar tools in less expensive photo-editing software. There are many ways to do it, and I’ll show you an easy way that produces a result similar to the pictures you see in books and posters.
This tutorial assumes that you are familiar with the basic editing tools and commands in Photoshop or Photoshop Elements and working with layers.
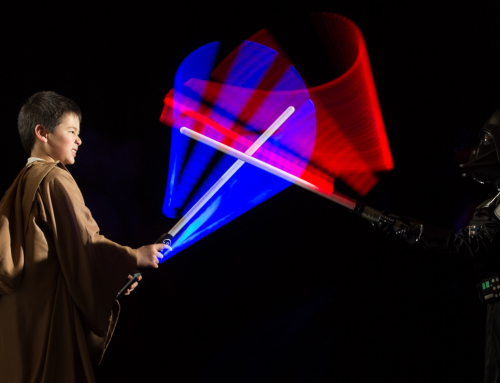
1. Take a picture of your Jedi (see Jedi portraits) and open it in Photoshop or your editing software. I chose a pose where the blade was silhouetted against the plain black background. You’ll see why this was helpful later.

2. Next, select the lightsaber blade using your favorite method. I used the Polygonal Lasso tool, but it would be pretty easy to use the Quick Selection tool or even the Magic Wand tool. You could show off using the Pen tool to trace a path and turn the path into a selection, but all that precision would be wasted. It doesn’t have to be a perfect selection, as you will soon see why.

3. Create a new layer on top of the background (you can name it “lightsaberglow”) and use your Paint Bucket tool to fill the selection with white. (You may notice I made a background copy layer. I do that out of habit to protect my original layer when I go crazy cloning out specks of dust and things like that, but it’s not necessary for this tutorial.)


4. Deselect the shape by pressing Ctrl + D. Then go to the menu across the top and choose Filter>Blur>Gaussian Blur. If you check the preview button, you can see the degree of blur as you slide the pointer on the radius bar. The radius pixel value will vary with the size of the light saber in your picture and the resolution of your file. Your goal is to soften the edge of the lightsaber shape so it blends nicely into the colored glow we are about to create.

5. Again, using the menu across the top, choose Layer>Layer Style>Outer Glow. I changed the default yellow to light blue (because we’re with the good guys) and adjusted the size slider until I was happy with the appearance. You can also adjust opacity and spread, but I thought the default values looked fine on my image. The blend mode of Screen works fine on a dark background, but if your lightsaber overlies a light-colored background, you might need to change the blend mode to Normal to make the outer glow show up.
You could actually be done here, but in this case, I thought the lightsaber blade looked a bit chunky, so I decided to streamline it a bit more.

6. With the lightsaberglow layer still active in the layers palette, press Ctrl + T to activate the Transform command. Resize the lightsaber shape by dragging on the walls of the bounding box and rotate by moving the corners if needed. Press Enter to complete the transformation.


7. Make the lightsaberglow layer invisible by clicking off the eye icon to the left of the layer in the Layers Palette. Create a new layer under it that you can name “clone over old lightsaber”.

8. Now you can use the Clone Stamp tool to cover up the original lightsaber blade. This is why it comes in handy to have the blade over a plain background.

9. In the Layers palette, click on the square to the left of the lightsaberglow layer to restore the eye icon and make the layer visible again. You should now see your new, improved lightsaber blade in its full, illuminated glory.

May the force be with you!


Leave A Comment